How To Setup And Install Your Infrared Sauna
Installing your Good Health Saunas’ infrared sauna is easier than it may seem. Feel free to watch the installation tutorial videos, or read and view the step-by-step instructions (with photos) listed below. And, if you have any questions about installation, please don’t hesitate to contact us.
Directions For Your Infrared Sauna Installation
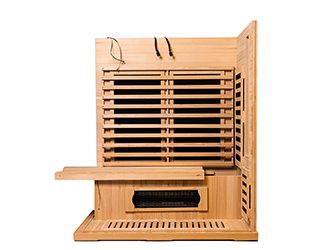
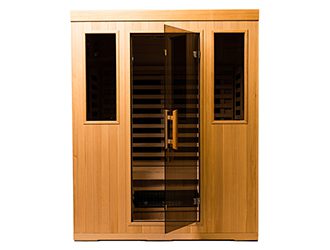
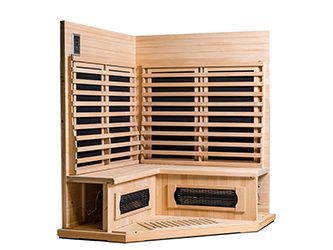
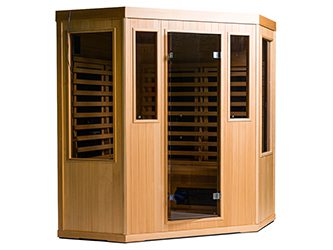
GHS Signature Series
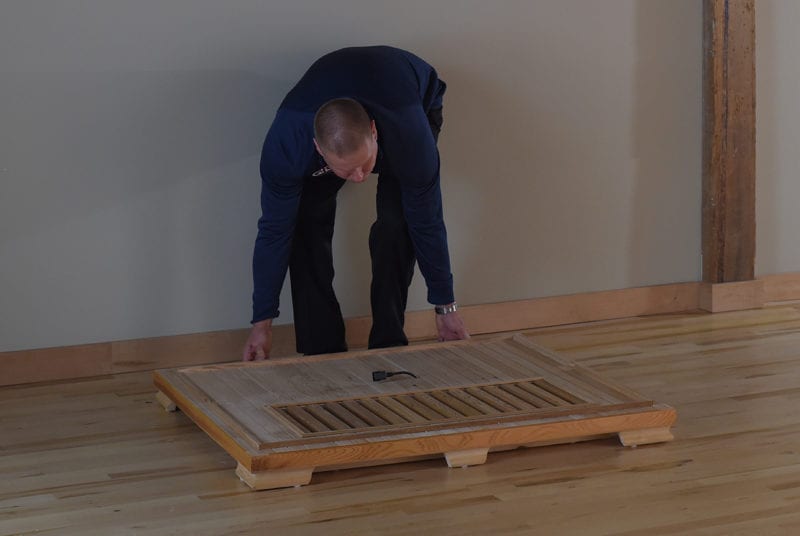
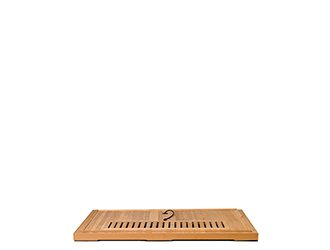
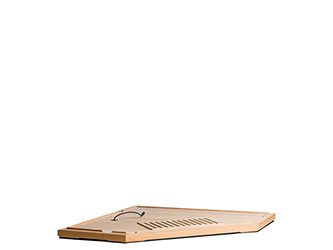
Step 1
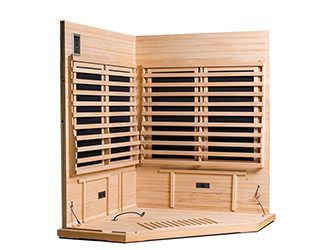
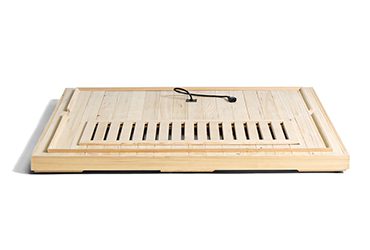
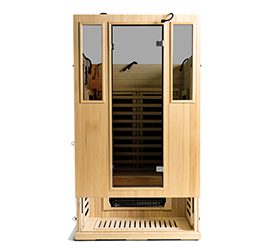
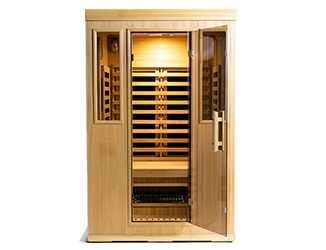
Choose a location to enjoy the sauna. Place the base on the floor of chosen location.
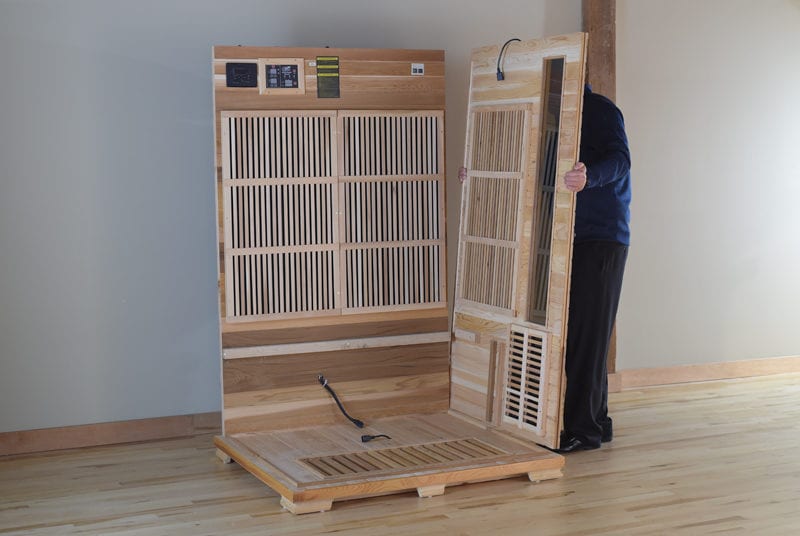
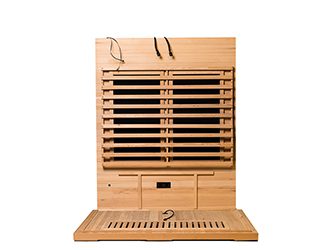
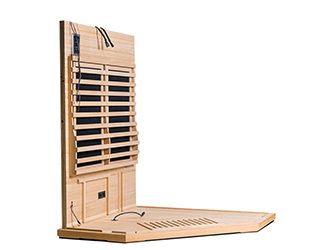
Step 2
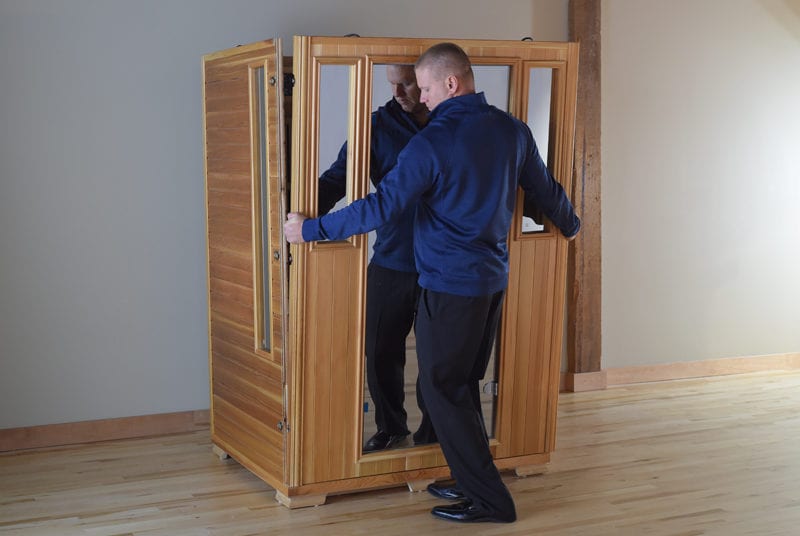
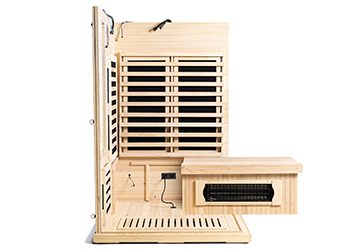
Insert back panel onto the base and have someone hold it in place while you insert side panel. Insert the left side window panel. Make sure the tongs and grooves are well inserted into one another. Fasten the outside buckle.
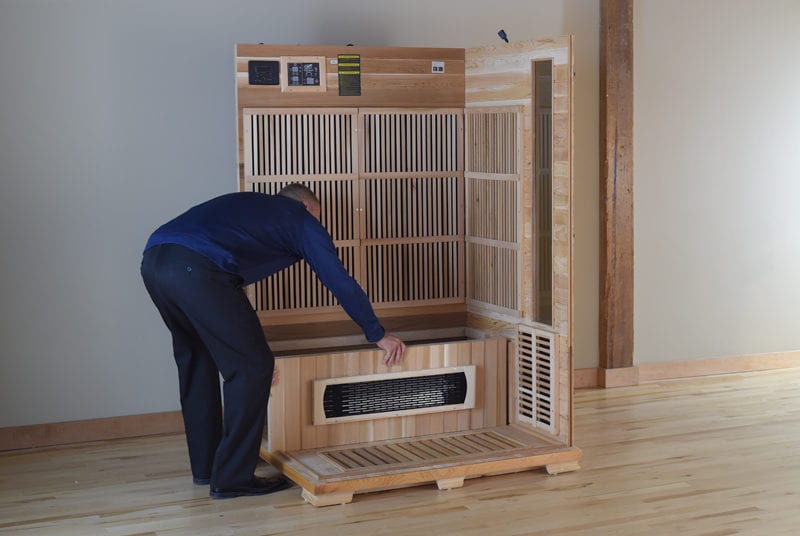
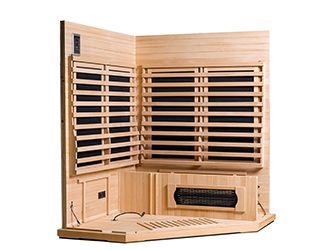
Step 3
Slide in the lower part of bench. Connect lower part of bench & make sure all connections are secure.
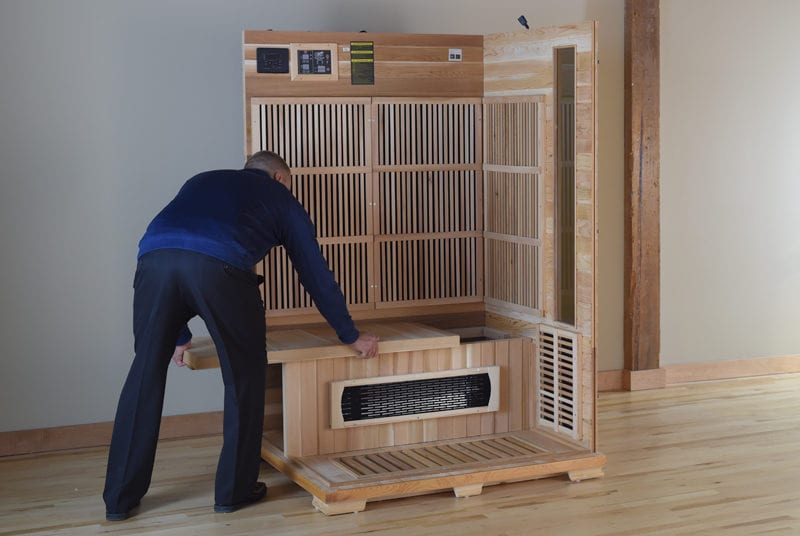
Step 4
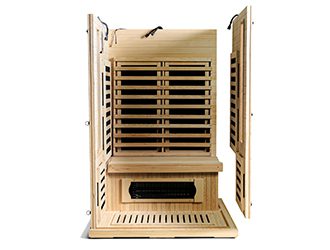
Slide top part of bench completely and securely into place.
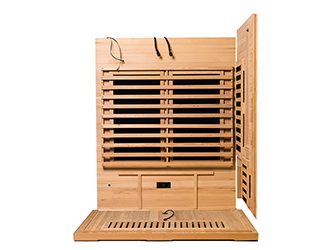
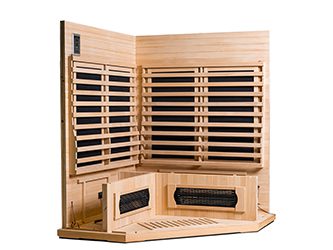
Step 5
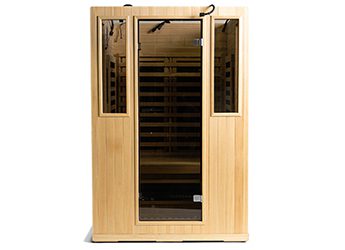
Insert right side window panel. Once again, make sure tongs and grooves are well inserted into back panel.
Step 6
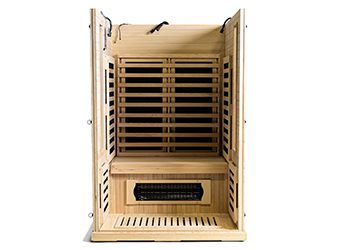
Fasten the outside buckles on the sauna.
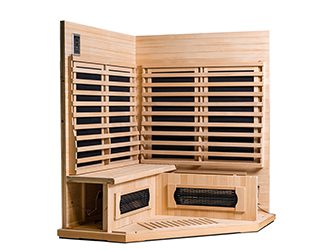
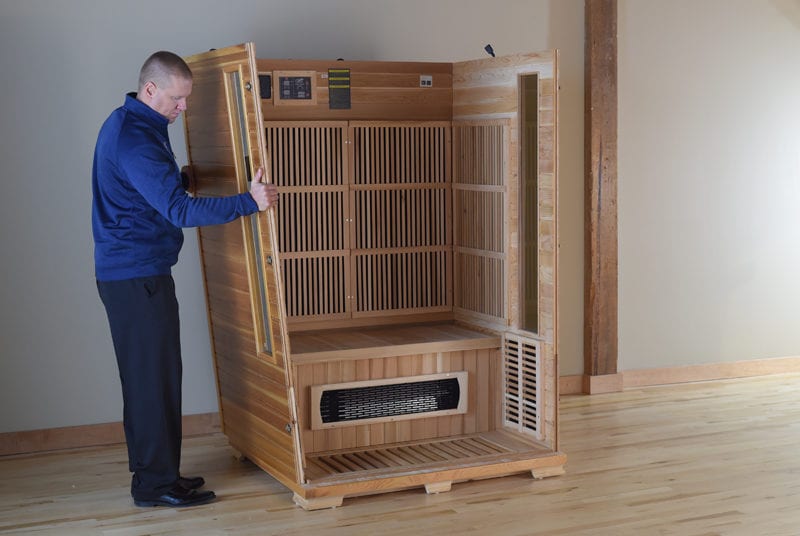
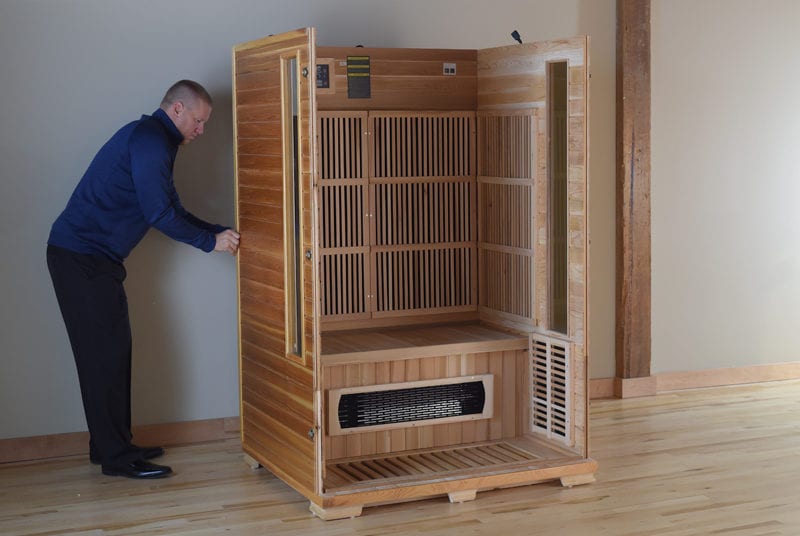
Step 7
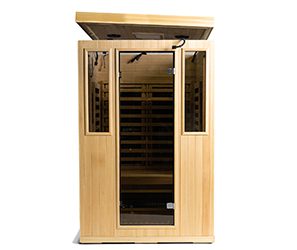
Insert front window panel, aligning tongs and grooves. Make sure the unfinished side is on the inside, finished side on the outside.
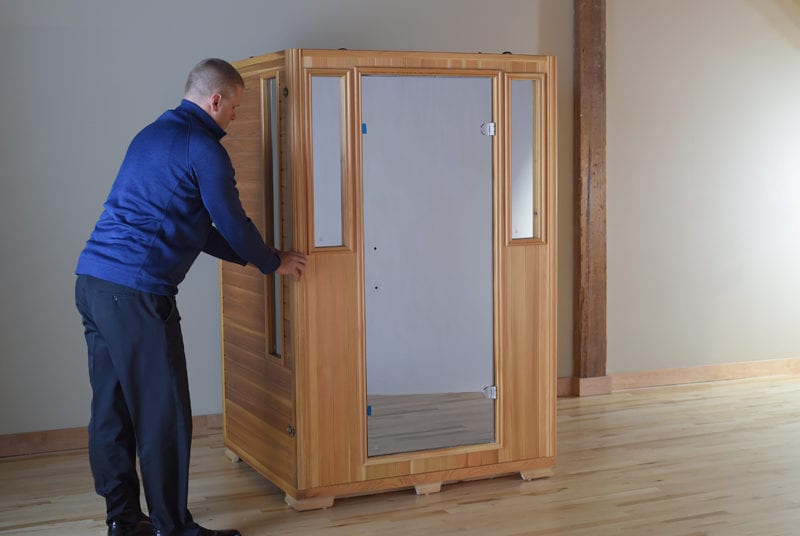
Step 8
Fasten the rest of the buckles.

Step 9
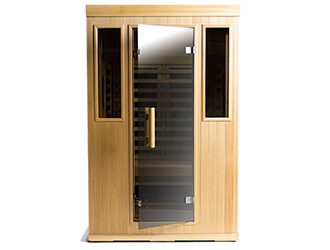
Install the door handle.
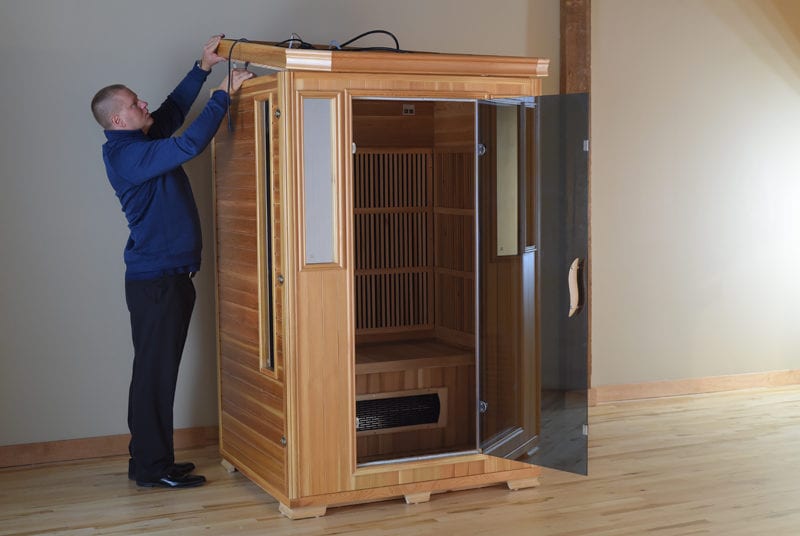
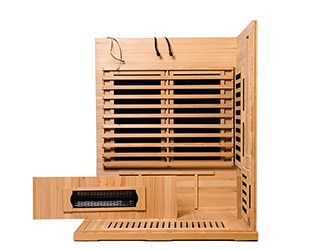
Step 10
Before roof installation, check all cables and push them in to help prevent damaging the wiring terminals. Push plugs for heater through holes around the top panel and then connect plugs.
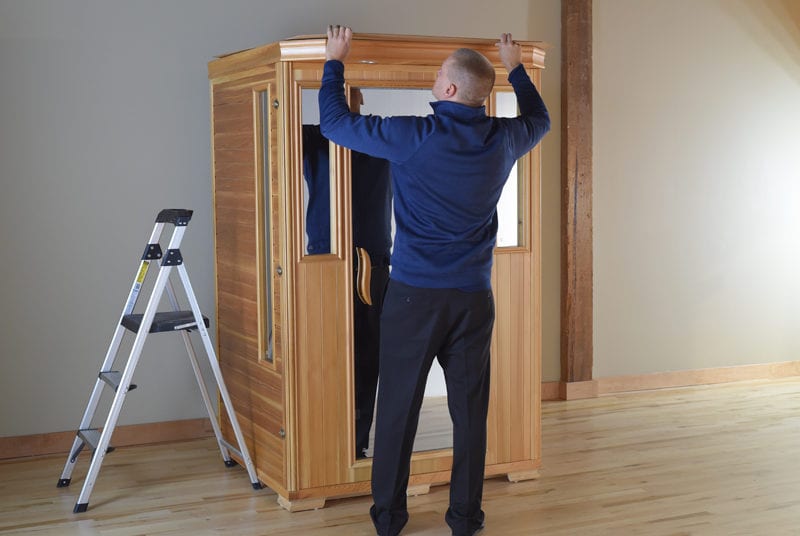
Step 11
When installing make sure roof is well aligned and settling into position.
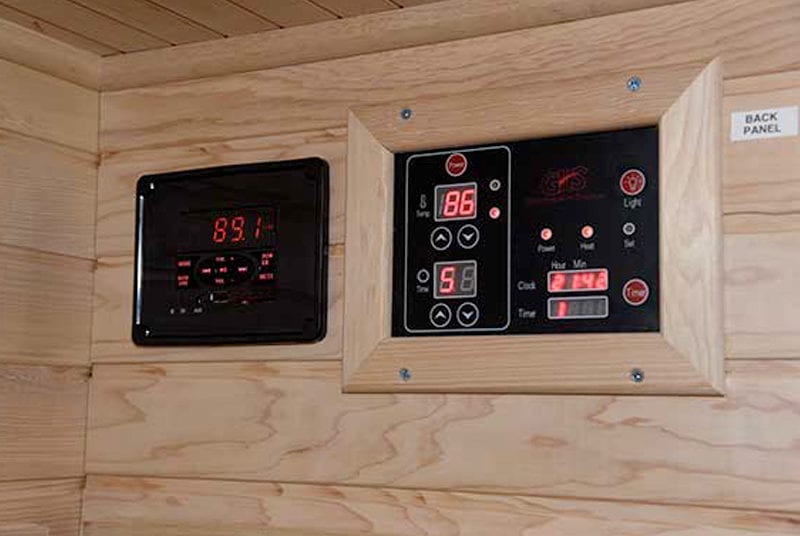
Step 12
When installing control panel, locate flat connector wires & connect.
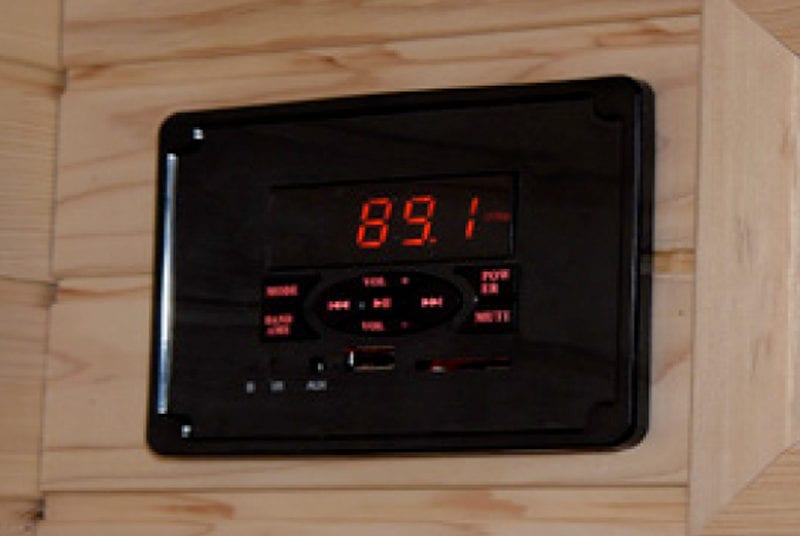
Step 13
Insert stereo into mounting box prior to connecting wires. The remaining wires are for the stereo. The round wire is for the stereo antenna, and is plugged into round opening at back of stereo. Connect wires and mount to ceiling.
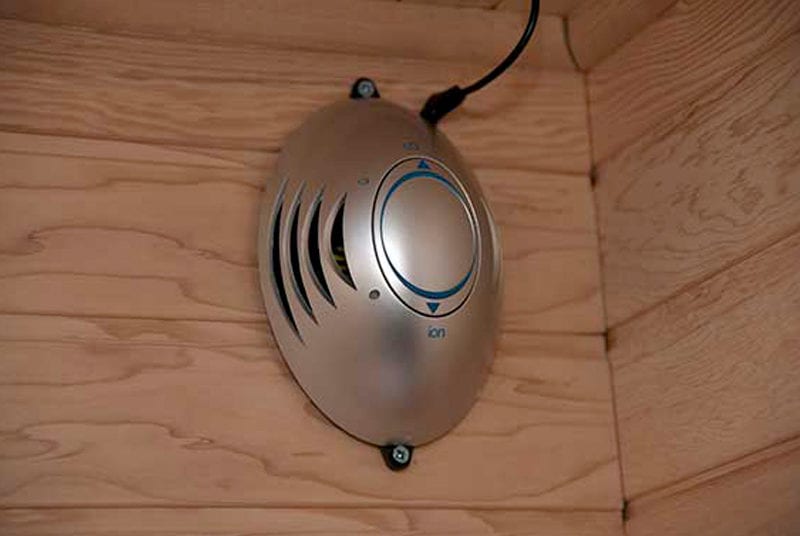
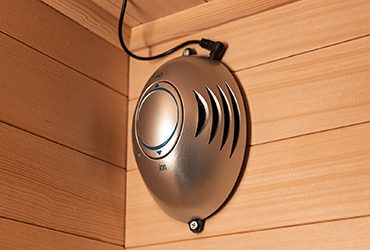
Step 14
Find the black wire from ceiling near side panel plugs into ionizer. Mount the ionizer, and easily grab this wire and plug it into the ionizer. Attach dust cover to top with remaining short screws.
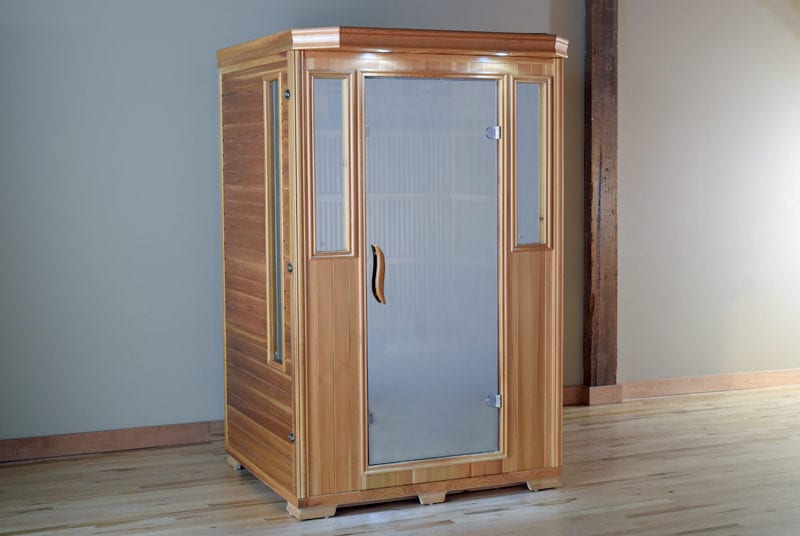
Step 15
Lastly, plug sauna into wall and you’re ready to enjoy your Good Health Sauna.
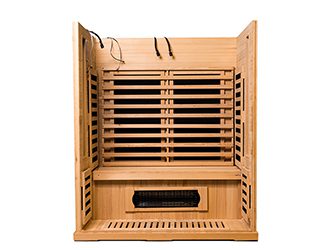
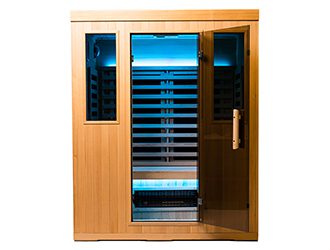
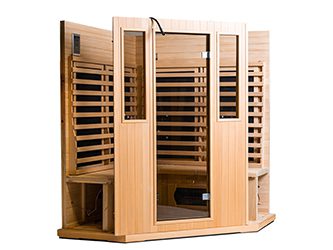
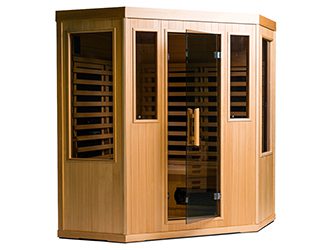
GHS Hybrid Series
Step 1
Choose a location to enjoy the sauna. Place the base on the floor.

Step 2
Insert back panel onto the base and have someone hold it in place while you insert the side panel. Insert the left side window panel. Make sure the tongs and grooves are well inserted into one another. Fasten the outside buckle.
Step 3
Slide in the lower part of the bench. Connect all wires and make sure they are secure.

Step 4
Slide top part of bench on to the lower part and secure into place.
Step 5
Insert right side window panel. Again, make sure tongs and grooves are well inserted into back panel.
Step 6
Once the panels are secure, fasten the outside buckles on the sauna.
Step 7
Insert front window panel. Align all grooves. Make sure the unfinished side is on the inside, and the finished side shows on the outside.
Step 8
Once all panels are secure, fasten the remaining buckles.
Step 9
Before roof installation, move cables aside to prevent damaging the wiring terminals. Push plugs for heater through holes around the top panel and then connect plugs. Secure the roof.
Step 10
Install the door handle.

Step 11
Insert stereo into the mounting box prior to connecting wires. The remaining wires are for the stereo. The round wire is for the stereo antenna, and is plugged into the round opening on the back of the stereo. Connect wires and mount to ceiling.
Step 12
Mount the ionizer. Find the black wire from the ceiling near the side panel and plug it into the ionizer. Attach the dust cover to top with remaining short screws.
Step 13
Plug the sauna into the wall. You are now ready to enjoy your Good Health Sauna.